Home : Product Search : Site Map : Checkout : Track Your Order : Login : Customer : Price Set : Wish List :
Search by Keyword
Product Categories
Site Map
 If you are allergic to cigarette smoke, you need not worry about one of our dresses smelling like cigarette smoke
|

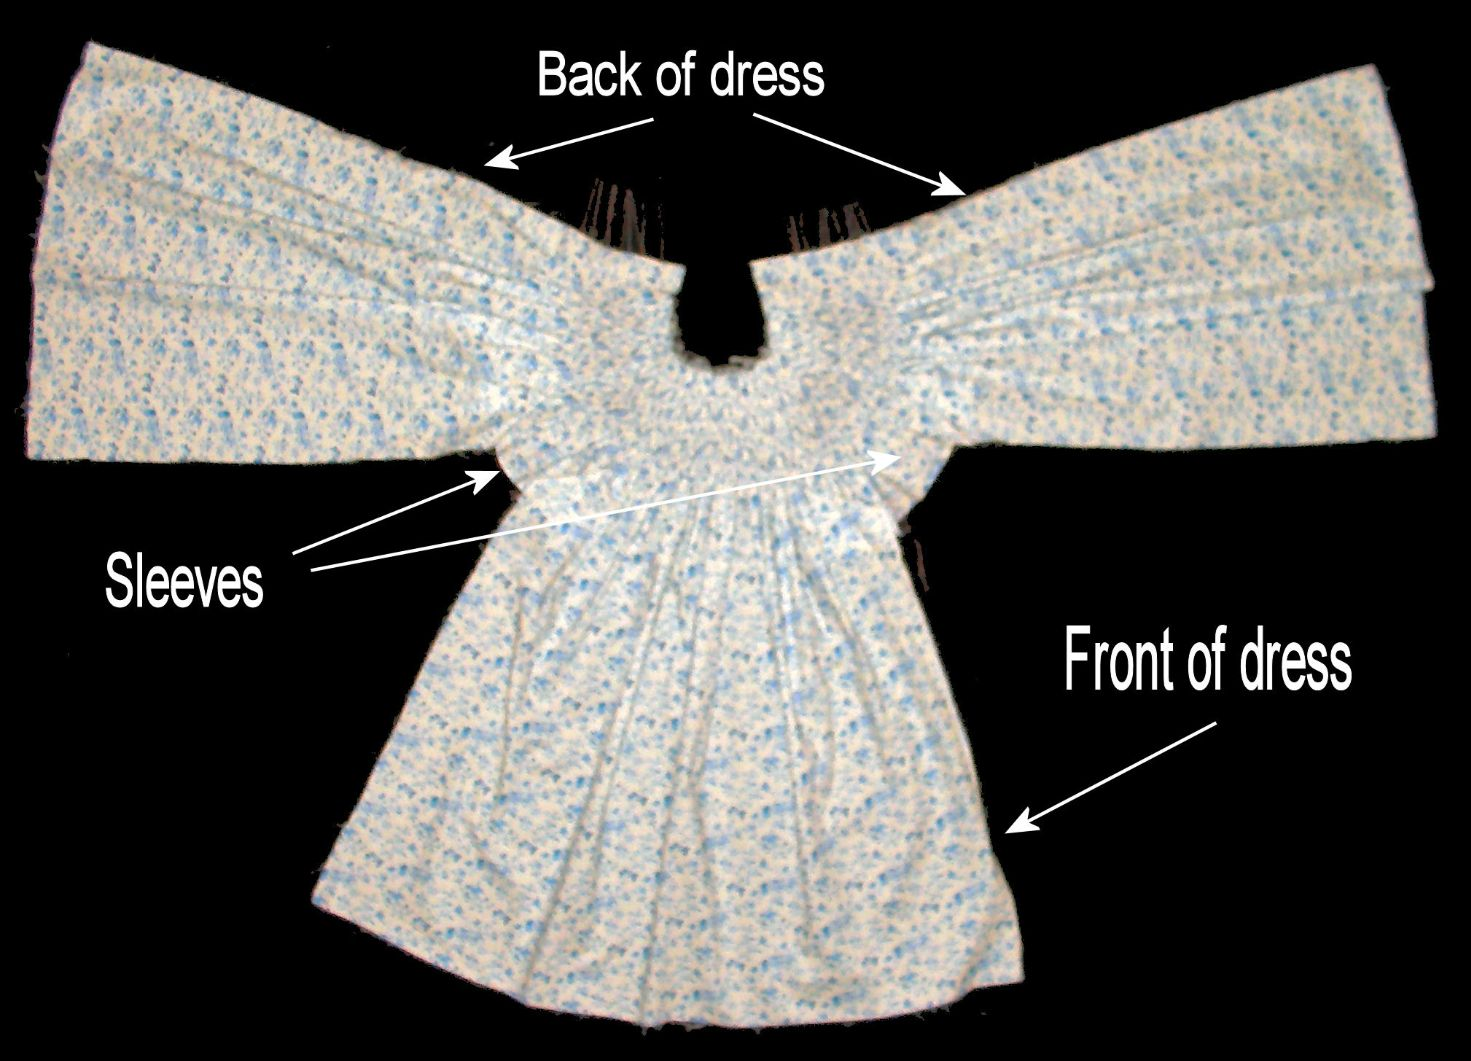
front, back and sleeves sewn together and pleated
 The front, back and sleeves have been sewn together and pleated.Bishop dress Sleeves Preparation for Pleating Pleat the bottom of the sleeves. With the pleating threads out flat hemstitch the raw edge and apply the lace. Join the sleeves to the front and back using tiny French seams (1/8”). Use a mark pen to transfer the seam allowance, usually 5/8”, on the right side of the fabric, front and back. Stay stitch a 5/8” seam with the wrong sides of the fabric together. Press the seam. Trim the seam so that there is a 1/16” seam allowance. To trim the seam, use your left hand to hold the seam and your right hand to hold the scissors. Slip the lower blade of the scissors under the raw edges. With both palms up and the scissors almost parallel to the seam line, trim close to the seam line. Fold the fabric along the seam line with the right sides of the fabric together. Sew a new 1/8” seam from the folded seam edge. Press the seam. Pleat the fabric around the neckline. Do not waste time sewing with cheap or old, dry thread on either conventional machine or serger (overlock machine). When pleating around the French seams turn the knob of the pleater very slowly to avoid the breaking of the pleater needles.
|
close up of pleats
 close up, showing pleating.
|
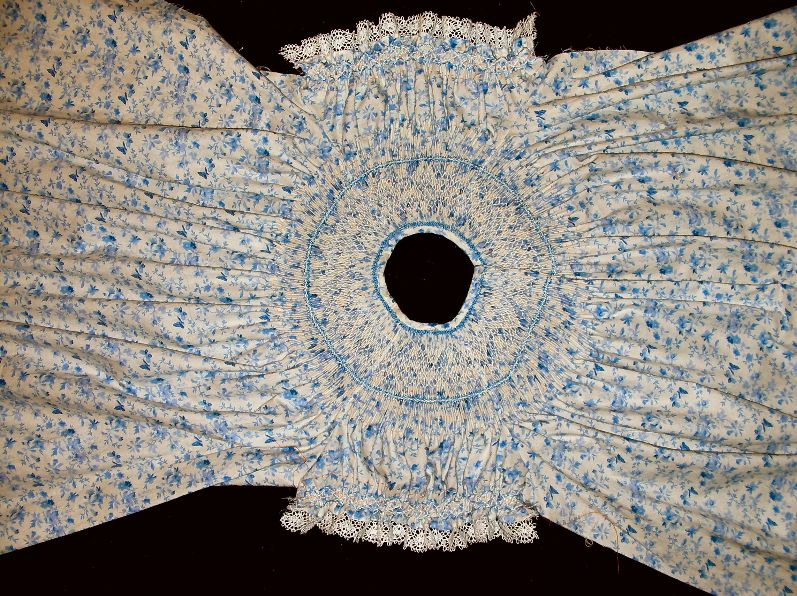
pleats gathered
 Pleats Gathered
|
rearranged, front on left
 back is to right
|
close up
 close up
|
looking more like a dress
 rearranged
|
lace added to sleeves
 Smocking The Round Yoke
Starting at the center of the front of the bishop dress stitch the selected smocking design. When smocking the yoke, remember that the turtleneck effect may be caused by tension when smock stitching too tight. When smocking around the round yoke, gradually, change the tension of the stitching as smocking each row away from the neckline so that the last row of the yoke is fairly loose to allow the bottom row to spread out nicely when the yoke is finished.
|
smocking with blue flowers added
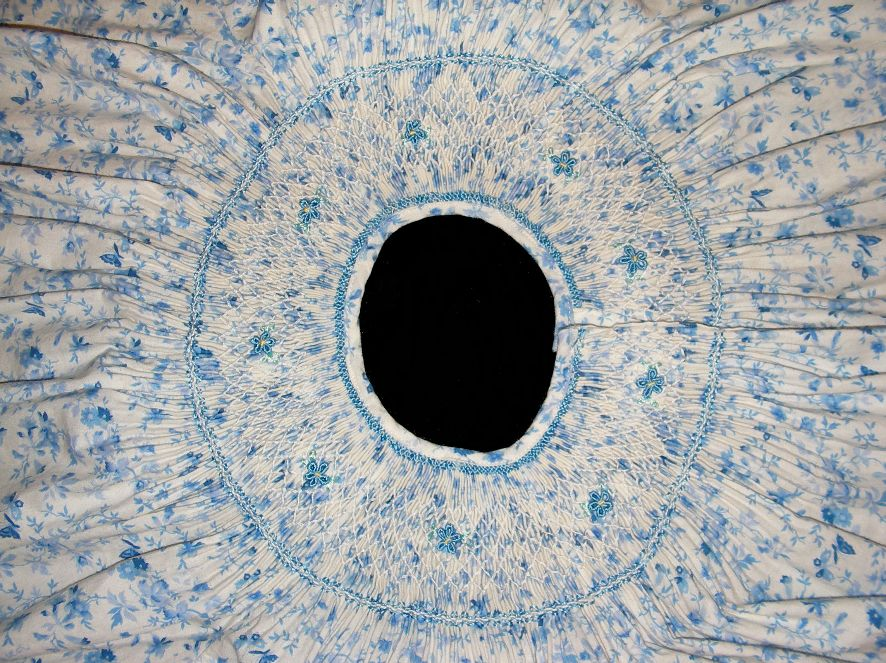 blue flowers with yellow centers added
|
FINISHED Smocked DRESS view of back of dress
 finished smocked dress, back of dress
|
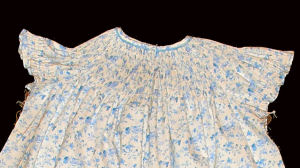
FINISHED DRESS, front view
 front view finished dress
|
close up view of one of the flowers
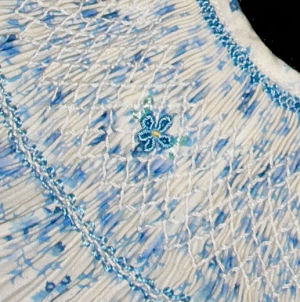 close up of flower
|
Made-to-order custom made dresses

If you like our dresses and have something particular in mind, a different color, a different size or a special request, we will be pleased to make a hand smocked dress for you for our normal price plus any additional fully discussed costs for specialty fabrics or yarns required.
Special orders take approximately three (3) weeks.
Bumba Bella accepts rush orders to be made within seven (7) days [exclusive of shipping delays] for an additional cost of 20%.
Shopping Basket
| Items: | 0 |
| Subtotal: | $0.00 |
Note: All prices in US Dollars
Specials
Your Pictures Wanted
If you submit a satisfactory picture
of your child wearing an item sold
by Bumba Bella and allow us to use
the picture on our web site, we will
give you a REFUND of 25% credited
on the credit card you used to
purchase the item.
CLICK HERE FOR UPLOAD FORM
of your child wearing an item sold
by Bumba Bella and allow us to use
the picture on our web site, we will
give you a REFUND of 25% credited
on the credit card you used to
purchase the item.
CLICK HERE FOR UPLOAD FORM